A smart bird feeder is only as useful as its placement. Put it in the wrong spot and birds never visit, the camera faces glare all day, or the feeder gets damaged by weather. Put it in the right spot and you get months of beautiful bird visits captured on camera. This article is the installation guide for smart bird feeders from a Chinese manufacturer perspective, based on testing and customer feedback. Written from Hefei, China, by Eviehome (Hefei Ecologie Vie Home Technology Co., Ltd.).
Before you install: WiFi check
The #1 installation mistake is placing the feeder too far from the home WiFi router. Smart bird feeders need reliable WiFi to upload photos and videos. Check before mounting:
- Take the feeder to the planned location with your phone.
- Check WiFi signal strength on your phone (most phones show signal bars or precise dBm).
- Target: at least 2 out of 4 bars of signal, or better than -75 dBm.
- If signal is weak, either move the feeder closer to the router, add a WiFi extender, or choose a feeder with cellular (LTE) backup.
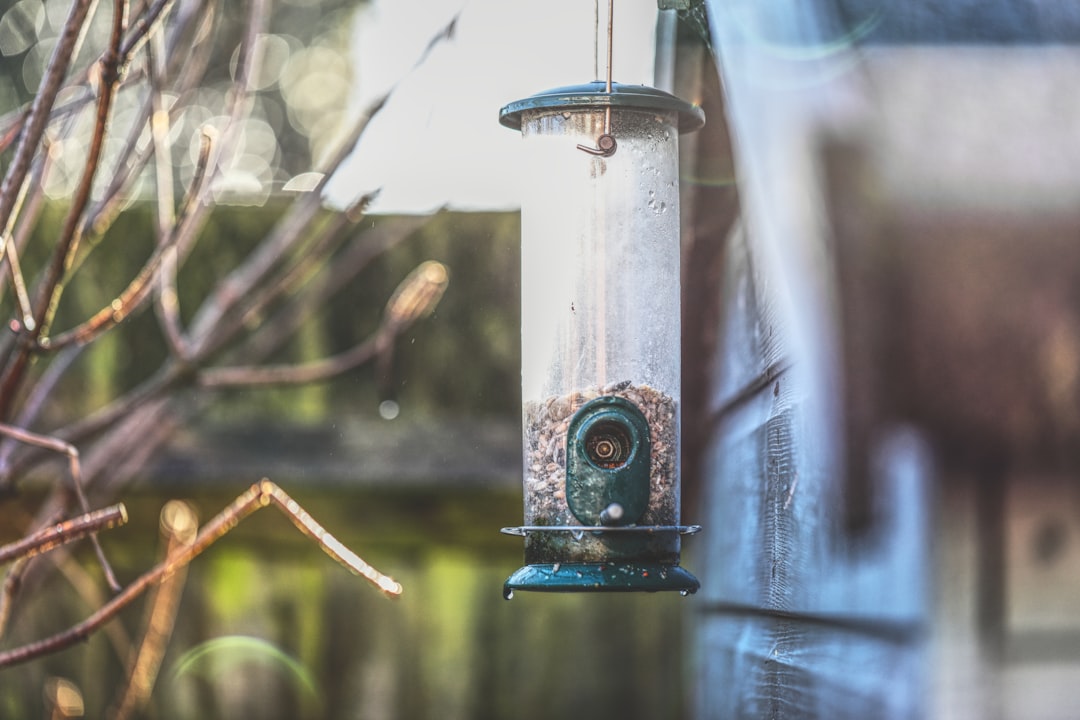
Location selection criteria
1. Distance from the house
- Best: 3 to 6 meters from a window, close enough for you to see birds from inside and close enough for WiFi.
- Acceptable: 6 to 15 meters with a WiFi extender or strong router.
- Avoid: right next to the house (scares birds, especially new visitors).
2. Height above ground
- Best: 1.5 to 2 meters above ground. High enough to deter cats and squirrels, low enough for easy refilling.
- For squirrel-heavy areas: mount on a pole with a baffle, or hang from a high tree branch.
3. Sunlight and orientation
- Morning sun is good: birds visit in the morning, natural lighting gives good camera shots.
- Avoid all-day direct sun: overheats the camera, fades the housing, damages electronics.
- Orientation: point the camera north or east so it is not backlit by afternoon sun.
- Partial shade is ideal: dappled sunlight through tree leaves protects the electronics and gives natural lighting.
4. Wind and weather exposure
- Avoid exposed windy locations: wind damages the feeder and blows seed.
- Avoid heavy rain exposure: even IP65-rated feeders prefer some cover.
- Under a tree branch or eave: ideal for weather protection while staying in the open for birds.
5. Predator safety
- Avoid low branches: cats jump to low branches and attack birds at feeders.
- Avoid dense bushes directly below: give birds a clear escape route.
- Add a squirrel baffle: if squirrels are a problem, a baffle on the mounting pole keeps them off.
6. Camera angle and background
- Clear background: the camera should not look at a busy street, a fence, or another active area.
- Natural background: trees, garden, sky in the background creates beautiful shots.
- Consistent background: minimizes false motion triggers from moving objects.
Mounting options
Pole mount (most common)
- A 1.8 to 2.4 meter metal pole (USD 15 to 40) with a flange or mounting bracket.
- Drive the pole into soft ground or set in a concrete base.
- Add a squirrel baffle on the pole.
- Attach the feeder to the top mount.
Tree mount
- Use a branch hanger or a bracket attached to the tree trunk.
- Pros: natural setting, no hardware visible, good WiFi reach if the tree is near the house.
- Cons: branches move in wind, squirrels have easy access.
Deck or railing mount
- Clamps to the top rail of a deck or fence.
- Pros: close to the house for good WiFi, easy to refill.
- Cons: may be too close to the house for shy birds, predators can access easily.
Window mount
- Suction cups to the outside of a window.
- Pros: very close viewing, perfect WiFi.
- Cons: window reflections spook birds, weight limits, aesthetic clutter.
Installation steps (pole mount example)
- Pick the location using the criteria above.
- Drive the pole into the ground with a mallet or set in a concrete footing.
- Verify vertical alignment with a level.
- Attach the squirrel baffle at 1.2 meters from the ground.
- Mount the feeder on the pole top.
- Fill the feeder with high-quality birdseed (black oil sunflower is the most attractive to the widest range of birds).
- Turn on the feeder and verify WiFi connection.
- Complete initial app pairing and test a photo capture.
- Wait for birds: it can take 1 to 14 days for birds to discover the new feeder.
Seed selection
Different birds prefer different seeds. General recommendations:
- Black oil sunflower: the universal seed, attracts the widest range of species.
- Nyjer (thistle): attracts finches specifically, needs a specialized feeder.
- Safflower: attracts cardinals and chickadees, squirrels dislike it.
- White millet: attracts ground-feeding birds like sparrows and doves.
- Peanuts (unsalted): attract jays, woodpeckers, titmice.
- Mixed seed: general use but lower-quality mixes have fillers birds reject.
Start with black oil sunflower. Expand to specialty seeds as you learn which birds visit your garden.
Camera configuration
Once the feeder is installed and paired:
- Set the motion detection sensitivity appropriately (too high = wind triggers, too low = missed birds)
- Enable AI bird species recognition if available
- Configure notifications (new species, frequent visitors, rare birds)
- Set the video resolution (1080p for most uses, 2K for better detail)
- Enable cloud backup if your plan supports it
- Set the recording duration per trigger (5 to 15 seconds is standard)
Seasonal care
Spring and summer
- Clean the feeder weekly to prevent mold
- Rotate seed to prevent spoilage in heat
- Keep water dishes nearby (birds drink more in heat)
Fall
- High activity as birds prepare for migration
- Fill more frequently
Winter
- Birds depend on feeders more in cold weather
- Fill daily or every 2 days
- Add suet or high-fat seeds for energy
- Cold weather can reduce lithium battery performance
Troubleshooting
No birds visit after 1 week
- Change the seed (try black oil sunflower)
- Move the feeder to a more visible location
- Add a “decoy” bird by scattering some seed on the ground below
- Be patient (some gardens take 2 to 4 weeks)
Squirrels dominating
- Add a squirrel baffle
- Switch to safflower seed
- Move the feeder further from trees and fences (4 meter minimum horizontal distance from jump points)
Camera not capturing clear photos
- Clean the lens
- Reposition to reduce glare
- Increase the resolution in the app
- Verify WiFi signal strength (poor signal causes compression artifacts)
Frequently asked questions
How often should I refill the feeder?
In active seasons, once a week. In peak winter, every 2 to 4 days. Running out of seed is a common cause of birds abandoning the feeder.
Does the camera work at night?
Most smart bird feeders have infrared night vision. Birds rarely feed at night (except owls) so night vision is mostly useful for capturing nocturnal wildlife that visits the feeder.
Does Eviehome manufacture smart bird feeders?
We do not currently manufacture smart bird feeders. We can refer you to trusted factory partners in Shenzhen through Ryan Lau.
About Eviehome
Eviehome specializes in indoor smart pet products. We monitor the smart bird feeder category for potential future partnerships. Based in Hefei, China since 2014.
Contact Ryan Lau at ryanlau@eviehometech.com, on WhatsApp at +86 199 5653 0913, or use the contact form.